SF Cyclotouring
Ride reports and other ramblings from a San Francisco cyclist.
5/18/2015 - Day 6


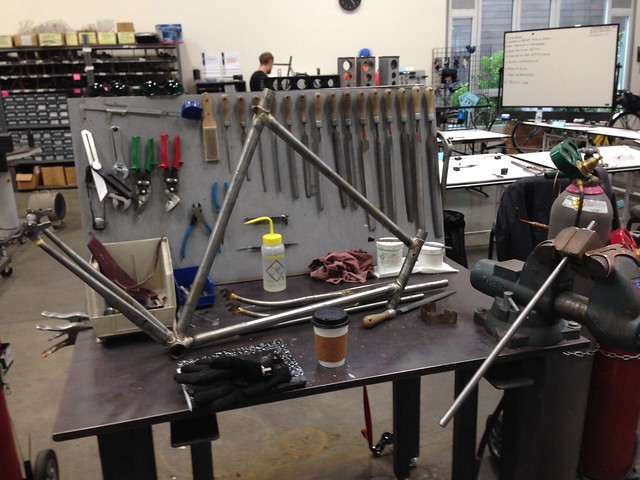
- After Brazing Main Triangle
- Examine the frame for any imperfections or needed touch-up -- mark these with Sharpie
- Inspect inside BB for silver penetration
- Too much silver needs to be removed by filing out with an appropriately-sized half-round file
- Chainstay Mitering
- Rough-cut to ~15mm extra at BB end to allow for miter
- CAUTION: do NOT rough cut chain stays to the back-of-BB length!
- Get 132mm dummy axle, mount stays onto axle
- Put subassembly on drawing, mark CS tube length at back of BB shell
- Record the axle-to-back of BB measurement
- Set a caliper to the BB socket width
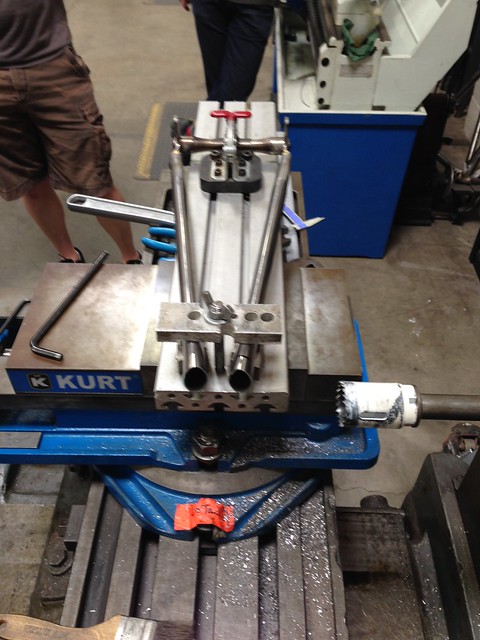
- CS Mitering done with 35mm hole saw, to match inside ID of BB shell
- Fillet-brazed bikes often have the chain stays offset lower to the BB to provide some clearance for the ST braze
- Lugged bikes have the chain stays lined up directly, not offset
- Miter on milling machine
- Chainstay Fitting
- Clean off burs from CS end
- Clean out BB ports with files and emery cloth
- Resize oval end of CS to fit BB port (squish in bench vise)
- Take length above BB (38mm) along seat tube ~500mm
- Triangulate on frame to determine CS angle/height
- Scribe line on edge of seat tube
- Check for free movement to desired position - file BB ports as needed
- Fillet-brazed frames need vent holes in chainstays & BB shell
- Chainstay Brazing
- Set up in jig
- Leave CS shy of inside BB port by 1mm to allow a ledge for silver filter to collect (otherwise it runs inside onto BB threads)
- Mark outside of chaintsays
- Set jig to correct BB drop
- Tighten center bolt of CS boom on jig first
- Check inside BB with flashlight to ensure proper CS position (leaving 1mm ledge)
- Check CS socket points on BB shell, use punches to tighten up ports as needed
- Brazing
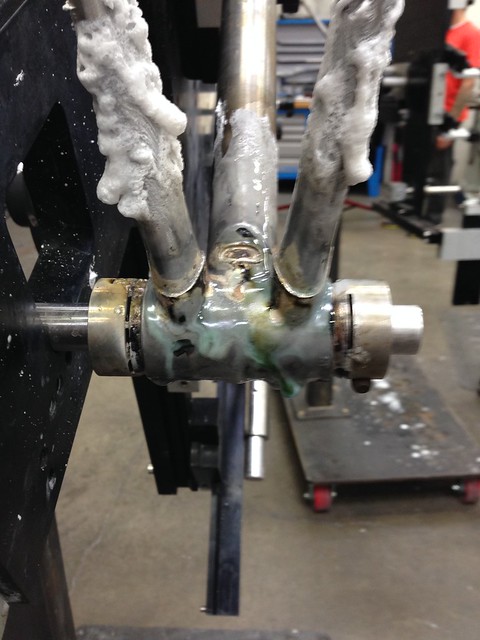
- Flux inside and out, careful of the BB threads
- Flux halfway around the ST
- Paint extra flux up the chainstays (which will be pointing UP when brazing)
- Focus heat on BB since it's thickest
- Start on non-drive side
- Heat seam of port on BB
- Make sure BB stays hot since silver filler needs to flow there
- Frame Alignment
- Rear Dropouts
- Use Calipers to check OLD measurement
- Use H-tools for dropout alignment
- Use long length of flat stock placed under BB and under H-tool to check for even dropout height
- Use known-good wheel to check for rear triangle alignment
- Use frame alignment gauge (Park FAG-1 or similar)
- Check for even spacing at top of rim with long flat stock along main triangle
- Assess overall alignment picture
- Make a plan to correct alignment
- Bend chainstays to correct


0 Comments:
Post a Comment
<< Home