SF Cyclotouring
Ride reports and other ramblings from a San Francisco cyclist.
5/14/2015 - Day 4
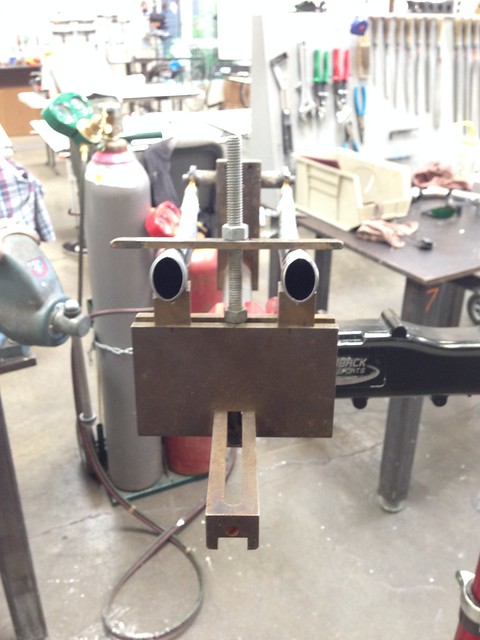
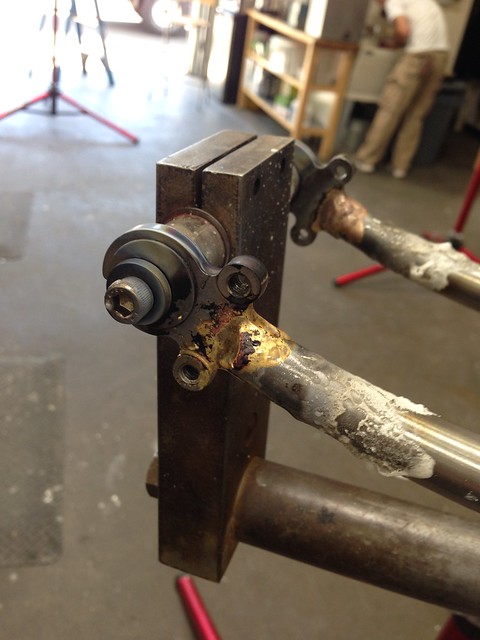
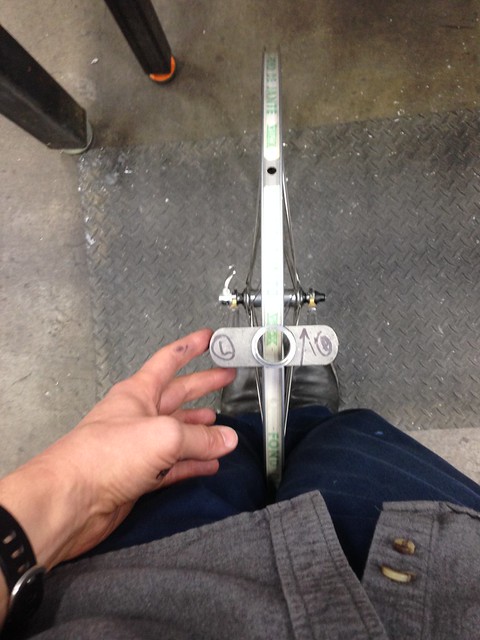
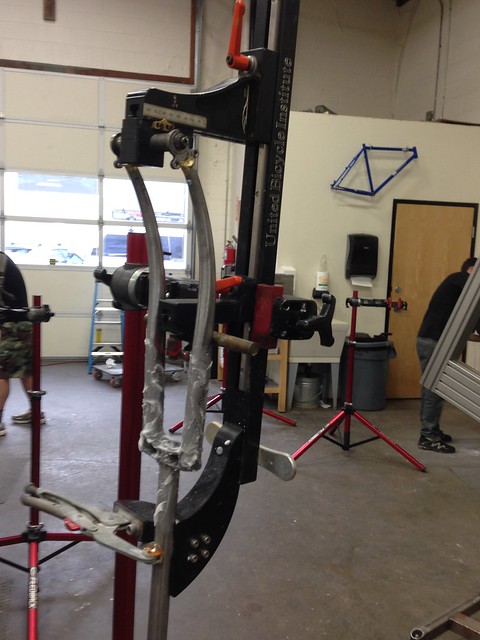
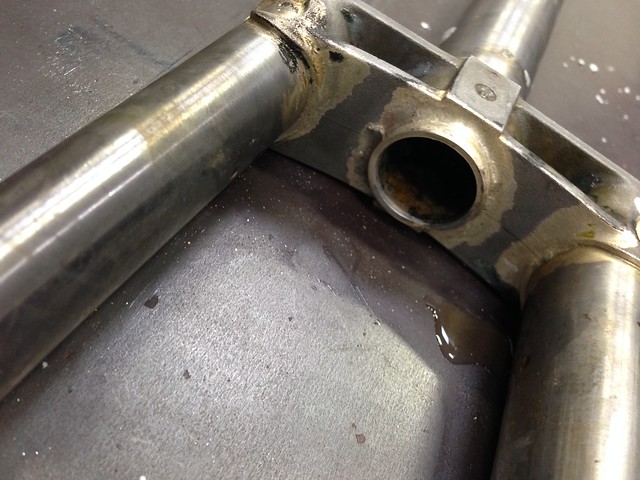
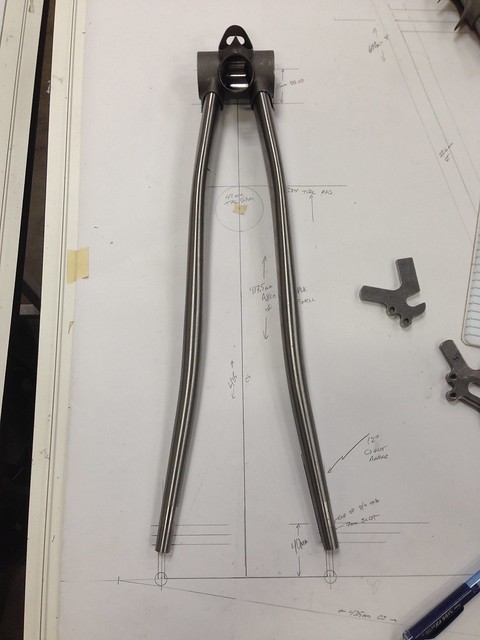
- Measuring Fork Crown Blade Seat
- Check catalog specs OR use the back side of the caliper to measure the blade socket depth
- Measure each side in case they're different
- Mark line across outside of fork crown
- Measure to crown race seat
- Mark on your drawing -- line perpendicular to HT between fork crown race seat and underside of fork crown/tire clearance
- Draw 11/32-inch circle on frame drawing at front axle center
- Fork Dropout Jig
- Ensure symmetry in slot at dropout dummy axle
- Position blades & dropouts in jig
- May need to refile slots to adjust blade angle to get ovals parallel
- Measure inside width of fork crown sockets (95.6mm)
- Flip calipers over & measure outside width of fork blades at crown height
- Check slot fit
- Check blade ovals for parallel
- Brazing fork dropouts
- Use 2-4 inches of brass rod per dropout
- Tack corner points first
- Seal tab sides
- Then fill plug
- Braze one dropout, then the other
- Chainstays
- Overview drawing (see worksheet)
- Dropouts
- Tire Clearance
- Figure out seatstay angle to help select dropouts (70°)
- Chainstay length
- Axle spacing
- BB Shell width: 68mm
- BB Shell diameter: 35mm for lugged
- Axle to back of BB length (should equal CS length minus (35mm/2))
- Draw overview on frame drawing
- Choosing BB shell
- Round vs. Oval chainstays
- Seattube & downtube diameters
- Tire clearance
- BB edge to chainstays
- Chainstay to dropout angle
- Draw OLD of hub axle
- Add 1/2 thickness of dropout -- watch for thick/raised dropout faces
- Measure dropout tab length -- axle center to end of tab
- Draw tab on drawing
- Mark tab depth (6-8mm)
- Mark slot depth (6-8mm)
- Determine overall chainstay length
- Draw in tire diameter
- Choosing Chainstays
- Straight vs. S-Bend
- Round vs. Round-Oval-Round
- Draw Line along Chainstay
- Measure Chainstay Angle with Protractor
- Chainstay Fixture
- Dummy Axle
- 137mm for 135mm OLD rear
- 132mm for 130mm OLD rear
- 122mm for 120mm OLD rear
- 102mm for 100mm OLD front
- Dummy axle slop -- keep in phase
- Mark chainstay length for back of BB off of frame drawing
- Check BB shell CS socket width with calipers
- Mount stays & drops in chainstay fixture -- watch for any gaps at tabs
- Adjust CS clamp fore/aft to set proper CS width at BB sockets
- Fork Blades
- Mark each fork blade length off drawing -- add 1mm to length
- Cut to line -- ensure cut is perpendicular to blade
- Clean up cut with flat file and level
- Deburr inside and outside of cut blade
- Check for square cut with machinist's square
- Fork Crown
- Mark left & right on crown for orientation and keep this orientation for fork leg insertion
- Clamp blades in dummy wheel
- Check alignment
- Tweak as needed
- Sight down through empty steerer hole in crown to check for center
- Side with more rim clearance is the shorter side -- LIGHTLY file down other side
- Iterate to get alignment perfect
- Squish oval ends of blades in vice as needed to fit crown
- Fork Vent Holes
- 1-2 inches above dropout; 1/16 inch hole only
- 1-2 inches below fork crown; 1/16 inch hole only
- Deburr any holes
- When drilling, clamp dropouts, not fork blade
- Brazing Fork Crown
- Anvil Fork Jig
- NOTE different offset scales for 1-inch and 1-1/8-inch steerer tubes
- Sand & wipe down with alcohol
- Check for close fit at fork crown tangs & points
- Add Silver flux everywhere -- inside and outside of crown; use LOTS of flux
- Fork blades should evenly touch alignment bar on jig
- Use a hotter/bigger flame
- Braze fork in jig upside down
- Heat steerer tube first
- Start at fork crown front and work around
- Heat from top to bottom
- Load silver on top (underside of crown) and pull it to bottom of crown (top side of crown)


0 Comments:
Post a Comment
<< Home