UBI Framebuilding Class - Day 1
5/11/2015 - Day 1

- General info
- Instructors: Joseph Ahearne & Dan Harrison
- No eating/drinking at workbenches
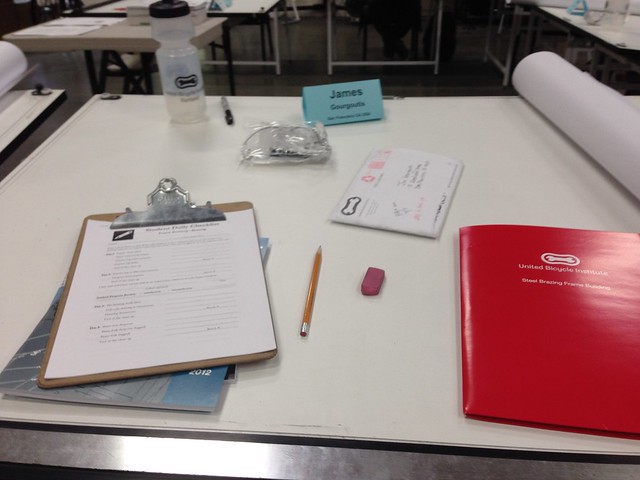
- Daily class checklist
- QPB & Chris King orders
- Cost + 15%
- Orders needed by lunchtime on Friday
- Can only buy things here while attending a UBI class
- Check the online catalog
- Kasai tubing catalog
- Henry James catalog
- No disk brakes on forks built in class
- For fillet builders, you start on the main triangle first
- For lugged builders, you start on the fork first
- Jigs used in class
- Henry James is used for lugged construction
- Arctos is used for fillet construction
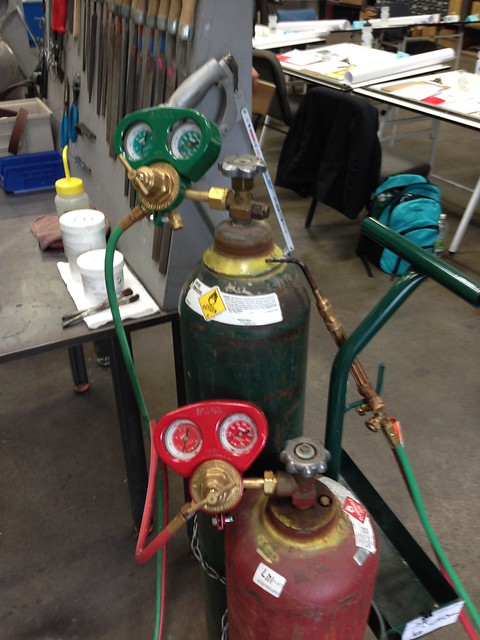
- Torch Setup
- Acetylene set to 5psi
- O2 set to 10-12psi
- Connections at regulator and valves are brass, so don't overtighten these!
- Turn off Acet first, then O2
- Bleed Acet from hoses first, then O2 -- this way the O2 pushes out any Acet left in the lines
- Torch Flames
- Reducing flame is used for Silver brazing ~ 1-2" secondary cone
- Neutral flame is used for Brass brazing
- Just a slight roaring sound
- primary and secondary cones are equal length (they converge)
- Oxidizing flame -- never want this
- Flux
- Blue flux for brass, thick consistency
- White flux for silver, thin consistency & use a lot more than you think you need
- Watch when the bubbles stop, which means you're near the working temp for the flux & filler
- First demo & practice - Brazing water-bottle bosses
- Drilling holes (#3/0.25" drill bit)
- Use tubing block
- Deburring
- Deburring tool, move in clockwise direction only
- Use half-round file inside the tube
- Emory Cloth
- Rubbing Alcohol to clean anything oily
- Clean the silver filler wire with Scotchbrite pad
- Heat the tube, not the H2O boss
- "Paint" with the torch flame
- Second practice - Lugs
- Headtube/downtube lug: 60°
- Headtube/toptube lug: 70° (start with this lug)
- Seattube/toptube lug
- Lug Prep
- Never fit the tube to the lug, always fit the lug to the tube (e.g. never remove material from the tube, only the lug)
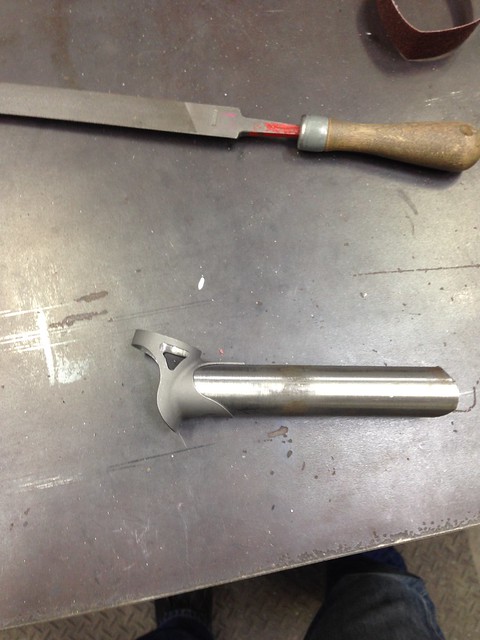
- Remove burr from cut edge of tube with 2nd cut file
- Lug should slide on tube under its own weight (loose fit)
- Lug sockets are often oval due to casting process -- especially at thicker sections of casting since the cooling metal contracts more here
- Choose a file that matches the lug socket radius
- File in a criss-cross motion
- Be careful not to over-file the lug's points
- NOTE: Don't make the lugs loose on the tubes until after the tube is mitered!
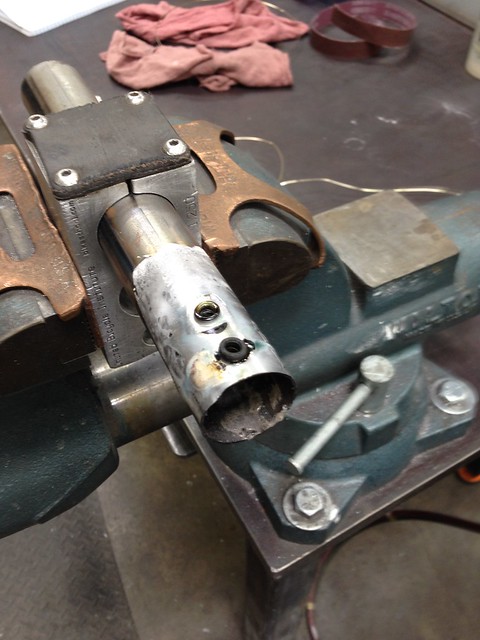
- Tube Mitering Demo
- Push tube to meet the deepest points of the lug socket
- Scribe lines on tube
- Use metal snips or hacksaw to roughly trim the miter
- Red snips - CCW / right-hand cut
- Green snips - CW / left-hand cut
- Position tube in block, aligning miter with block seam, clamp in bench vise
- Try to file parallel to the floor, tilt the file slightly to bias material removal
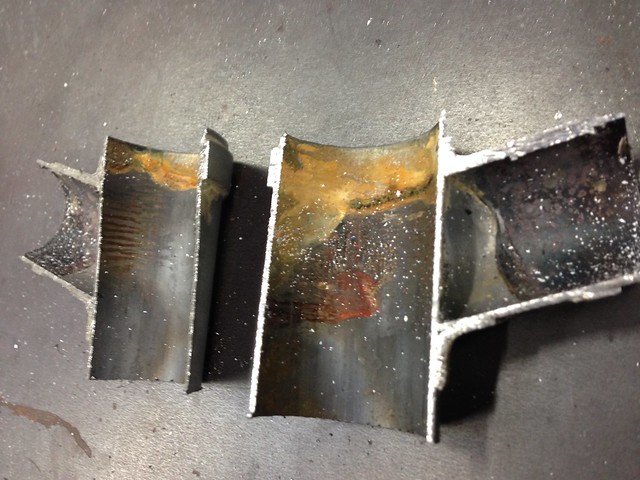
- Ensure the mating tube sits squarely and completely in the cut miter
- If there are gaps at the sides of the valley, remove material from the bottom of the valley, possibly with a narrower file
- If there are gaps at the bottom of the valley, remove material from the sides of the valley
- Look for full contact around the perimeter of the miter
- Use the lug to check the tube angle
- Lug Brazing Demo
- Applying Flux
- 1/4" up inside of tube
- All around the outside
- Inside of lug completely
- Make sure tube is seated at miter
- 5mm excess headtube protruding from lug - gives a place for excess silver to flow onto
- Flux outside of lug completely
- Dry off flux with torch
- Sequence
- Wherever you add filler, the angle of the joint will pull tighter
- NOTE: Always tack in plane to the frame
- NOTE: Tack inside/obtuse angles on center first
- Then tack on acute center line (other side of lug joint)
- Finally go around right and then left side of lug to fill in with silver
- The sequence is important because it keeps things centered and ensures the order of completeness -- silver penetration all around and through the lug
- Flux should be evenly hot and clear on all joined surfaces -- watch for bubbles to stop coming out from the lug's edge
- Don't heat any points on the lug directly, else they'll overheat
- Tack just to the side of any lug points
- Preheat where you want silver to flow
posted by jim g at 4:52 PM
![]()
![]()

0 Comments:
Post a Comment
<< Home