UBI Framebuilding Class - Day 7
5/19/2015 - Day 7
- Seat Stays
- Attachment Styles:
- Traditional
- Fastback
- Choosing Seatstays
- Typical diameters: 14/16/19mm
- Consider proportions to main frame -- fat tubes with skinny seatstays will look odd, etc.
- Plug/socket-style dropouts will dictate the SS diameter
- You will need to cut a tab on your dropout
- Also need to cut a slot in the SS for the dropout tab
- Double-tapered SS are useful for canti brakes
- You can bend your own SS -- use the fork-blade bender
- Canti brakes -- be aware of SS width vs. canti-boss placement requirements (75-85mm boss spread)
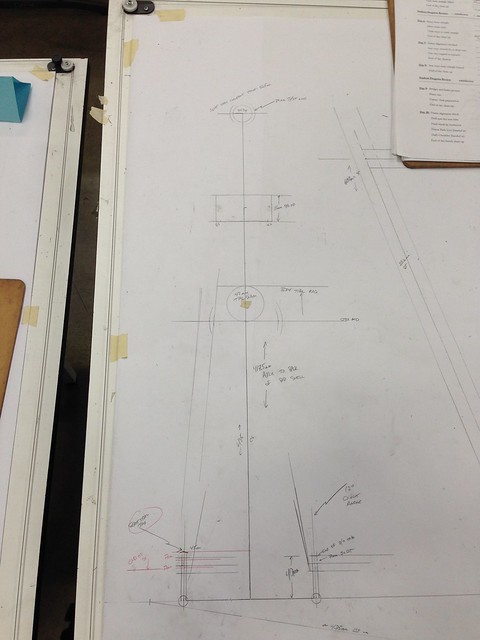
- SS overview drawing
- Measure axle to SS contact point
- Center of axle to end of dropout tab
- Lay seatstay on drawing, gauge tire clearance
- For Canti-studs
- Measure up to the BSD line
- Boss spread is 75-85mm
- Draw horizontal line at BSD to estimate boss locations
- Fitting Seatstays
- Cut & Slot for Tabbed Dropouts (same technique as CS and fork blades)
- Bevel inside of drive-side stay more and steeper for cassette/chain clearance
- Drill vent holes (1/16-inch bit)
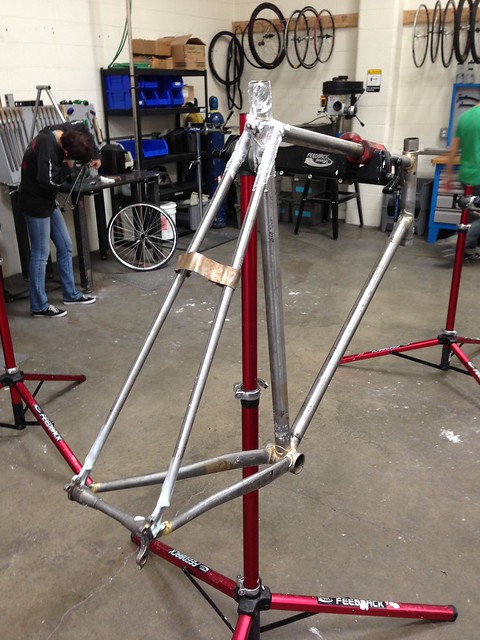
- Brazing Seatstays
- Always use dummy axle
- Fixture SSs using spring-thing clamp, leather toestrap, or similar
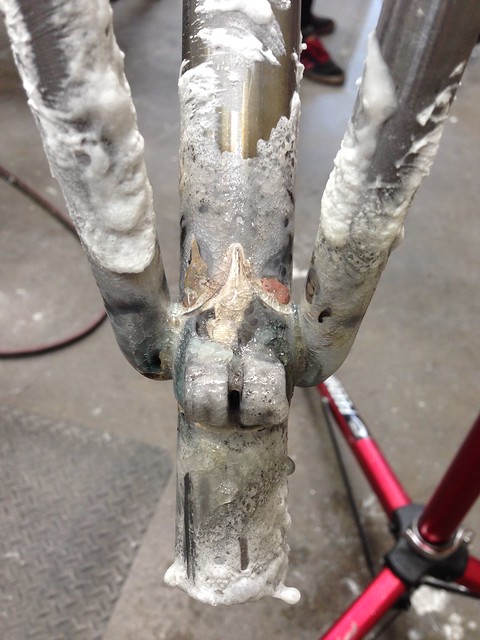
- Braze using silver filler at seat lug, brass filler at dropouts -- remember to use the correct flux for each!
- Braze in a bicycle work stand, not the frame jig, for better access
- Tack inside points of dropout tab/notch lightly, to avoid lifting the seat stays off of the seat tube
- Heat edge of dropout tab until red, then "walk" the heat up towards the notch/slot
- Heat the seat lug, watch for the lug's silver to melt
- Tack at the tops of SS
- Seatstay Attachment w/Custom Caps
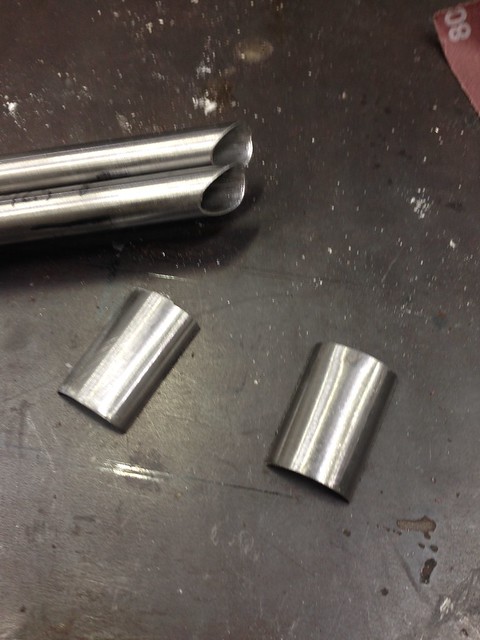
- Choosing the material
- Use flat stock or large-diamter tubing (e.g. fork blade cutoffs)
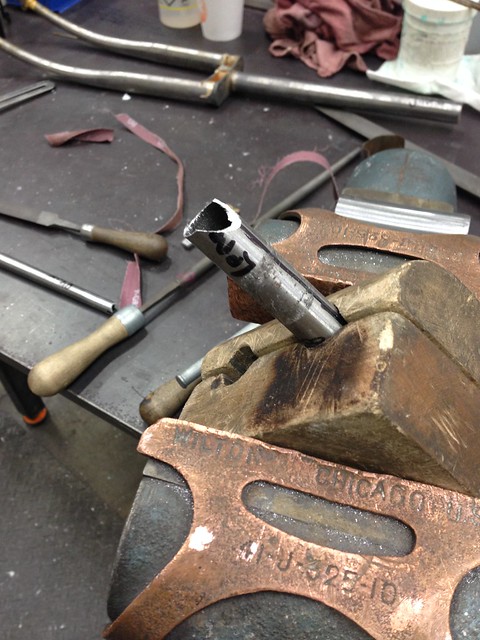
- Mitering
- Choose an angle -- shallower (longer cap) is harder to fit
- Use bevel gauge to match desired angle of tube clamped in block in bench vise
- File parallel to floor with half-round or flat file -- depending on the cap material (round or flat)
- Make stays the same length
- Minor length adjustments can be made at the opposite slotted end for the dropouts
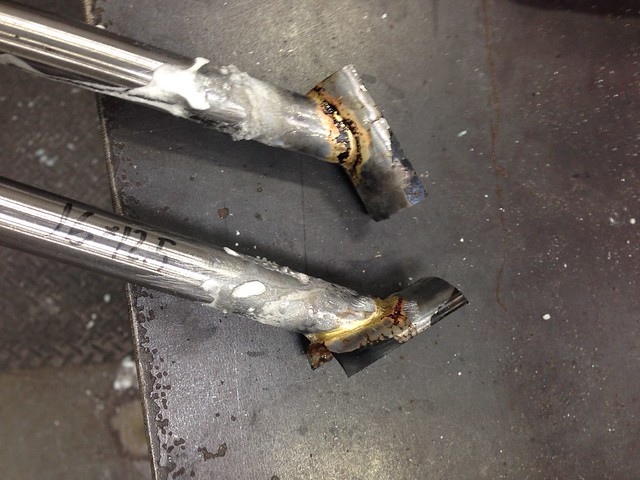
- Brazing the Caps
- Slide cap to just the bottom end of the oval cut into the seat stay
- Tack bottom with brass
- Tack at top end
- Tin brass around -- watching for gaps and pinholes
- Finishing
- Remove excess material with any available method (bench grinder, hacksaw, snips)
- Clamp stay parallel to floor
- Only file flat
- Rotate stay, not file
- Finish file until there's a single shiny line
- Leave top point 4-5mm long for finish fitting (can do slight wrap-around effect on seat lug)
- Caution: Do NOT file into the stay
- Pick desired top point, mark with Sharpie
- File to point, leaving 4-5mm long
- Clean off burnt flux, because silver won't stick
- Use emery cloth on end of seatstay to finish and smooth
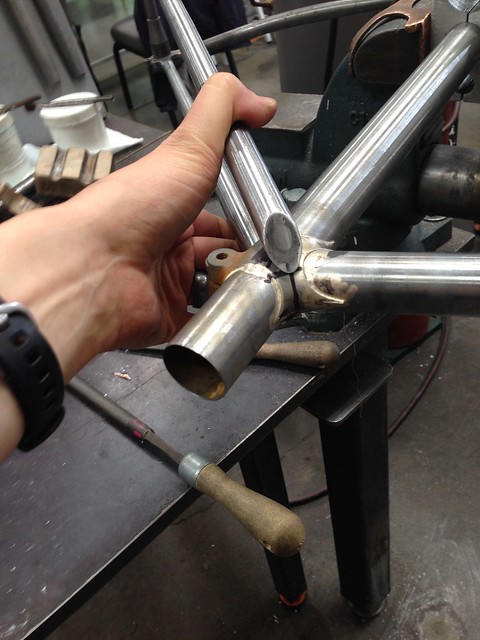
- Fitting to Frame
- File a groove with a round file in seatstay lug pointing in direction of seatstay dropout tab
- Locate groove by inking seat lug with Sharpie and scribing seat stay along lug to mark the seat lug
- Choose desired landing point for seatstay -- into the lug's "valley" is typical
- File GENTLY; watch that scratch marks from file are centerd over scribed marks
- STOP if you hit silver, do NOT go deeper

0 Comments:
Post a Comment
<< Home